

Last updated on March 31st, 2021
5 Quick Ways to Add Google AdSense to WordPress Site (2021)
How do I add Google AdSense to my WordPress site? That's probably one of the most frequently asked questions by WordPress site owners/developers who want/need to monetize His/Her website with Google AdSense -- earn money by placing ads on their website. The good news is, there are many ways from which you can choose to be able to add your Google AdSense code to your WordPress site. Once your Google AdSense account's approved (which also means your WordPress site's ready to show ads), then you can do the following right away to display AdSense ads on your website:
1. You can leverage AdSense Auto ads feature to automatically add Google AdSense across your website or;
2. If you prefer to manually insert Google AdSense (have more control over ad placement on your website), then use WP Simple AdSense Insertion plugin;
3. As another option, you can create your own AdSense shortcode to eliminate the use of WordPress AdSense plugin or;
4. Customize your Child Theme's template (if you want to place your ad in the header, footer, etc. of your website), lastly;
5. If you're using Enfold theme, take advantage of its Code Block element to place your ads to specific locations of your pages/posts.
Requirements
- Your Google AdSense Account is already approved. Don't have an AdSense account yet? or haven't yet applied to AdSense for your website? Follow the steps below to create your Google AdSense account first.
- Your WordPress site is already connected to Google AdSense. Haven't yet connected your website to AdSense? Follow the steps below to connect your WordPress site first to Google AdSense.
Note: This WordPress and Google AdSense tutorial is applicable for WordPress.org users only and NOT for WordPress.com users.
Summary
Set up AdSense Auto ads to automatically add Google AdSense to WordPress
Add Google AdSense to WordPress with WP Simple AdSense Insertion plugin
Create your own shortcode to insert Google AdSense to WordPress (no plugin required)
Insert Google AdSense to WordPress using your theme's template
(For Enfold theme users only) add Google AdSense to WordPress with Code Block element
Bonus: Connect your WordPress site to Google AdSense
Automatically Add Google AdSense to WordPress by Setting Up AdSense Auto Ads
This's your best bet if you don't want to manually insert AdSense ads for each page on your WordPress site. Here we'll let Google place ads for us by simply enabling AdSense Auto ads feature.
Remember: You should already have connected your WordPress site to AdSense before you can perform the following steps.
1. First, sign in to Google AdSense.
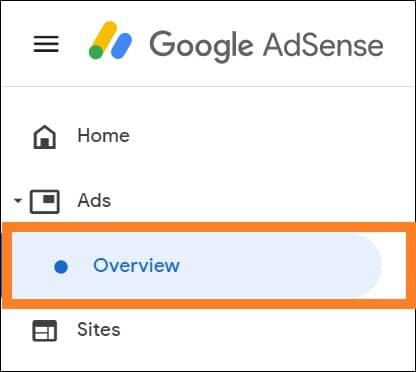
2. Next, from the left sidebar of your AdSense dashboard, navigate to Ads > Overview.
3. Then, go to Ad Settings Preview of your website by clicking the edit icon next to your site name.
![]()
4. After that, enable Google AdSense Auto ads feature.
From the Ad settings tab (right side of Ad Settings Preview), turn on Auto ads feature (toggle on the Auto ads switch).
As you can see from the GIF above, AdSense allows you to enable or disable 3 Ad formats -- In-page ads, Anchor ads, and Vignette ads.
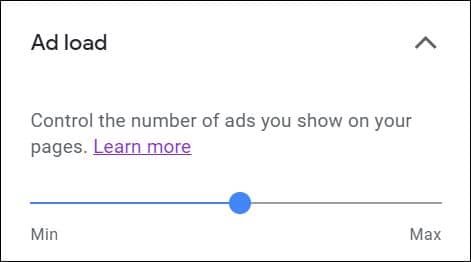
AdSense also permits you to control the number of ads you want to show on your page or post. Set the Ad load to Max (maximum) if your goal is to earn as much as possible from AdSense Auto ads. Otherwise, just set it to Min (minimum) or maybe just in the middle if your priority is better UX for your website visitors.
AdSense allows you to exclude certain pages on your website from displaying Auto ads. To do that, you just have to click the Manage button next to Page exclusions. Next, you have to click the + Add exclusion button and enter the URL of your page that you want to exclude from showing Auto ads. Lastly, click the Add button.
5. Finally, click the Apply to site button to save your changes.
Good job! After saving your changes on your Ad settings, AdSense ads will be placed automatically across your WordPress site -- on all of your pages/posts -- in all best locations for you. 🤘
Note: AdSense ads may not show up immediately on your WordPress site right after you apply your changes. You may need to wait for up to 1 hour before AdSense Auto ads will start to display on your pages and posts.
If by chance, you're not satisfied with the placement of the ads on your WordPress site (maybe you're not happy that AdSense ads appearing in random location on your page/post or you just want to remove Auto ads from certain areas on your website), then we suggest you disable Google Adsense Auto ads. To do that, you just have to go back to Ad Settings Preview of your site, and turn off the Auto ads feature. Don't forget to hit the Apply to site button again to save your changes.
That's the downside of using AdSense Auto ads, you have less control over the ad placement on your website. If you want more control over exactly where your ads are placed, your best bet is to use WP Simple AdSense Insertion plugin or create your own AdSense shortcode (if you don't want to use WordPress AdSense plugin).
For the next WordPress and Google AdSense tutorials -- other ways (manual ways) of adding Google AdSense to WordPress, we'll need AdSense ad units (such's Display ad and In-article ad) ready. If you haven't yet created an ad unit, then follow the steps below.
Creating Ad Units in Google AdSense
Skips this step if you already have ad unit/s ready to use.
For this demo, we'll create just 2 ad units, a Display ad, and an In-article ad.
Create your new Display Ad Unit
1. From your AdSense dashboard, navigate to Ads > Overview and click By ad unit tab.

2. Select Display ads from ad unit options (you'll see your Display ad preview page).
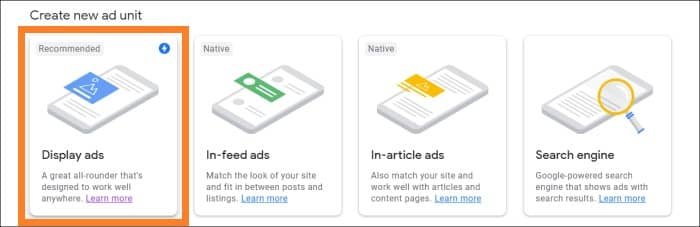
3. Name your Display ad (e.g. "My first Display ad").
AdSense allows you to select Ad size when creating a Display ad unit. You can choose between Responsive (adaptive to the layout of your page) or Fixed (where you can set fixed width and height for your ad). We suggest you leave the Ad size value to default -- Responsive.
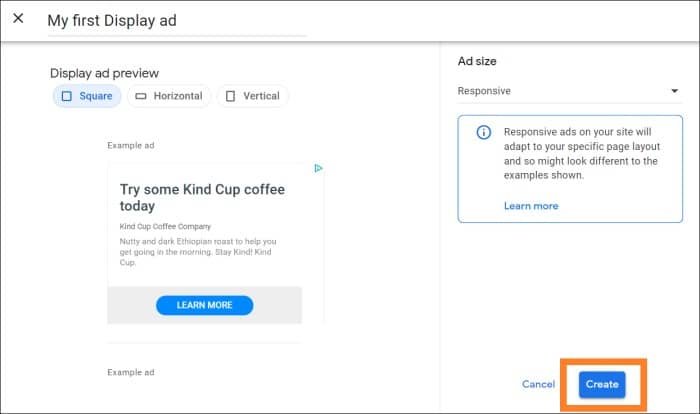
Note: If you choose your Ad size to be responsive, the Display ad unit may appear as square, horizontal rectangle, or vertical rectangle depends on the location where you place it.
4. Click the Create button (you'll see your Display ad code generated by AdSense).
Create your new In-article Ad Unit
1. Go back to Ads > Overview and click By ad unit tab again.
2. Select In-article ads from ad unit options (you'll see your In-article ad preview page).
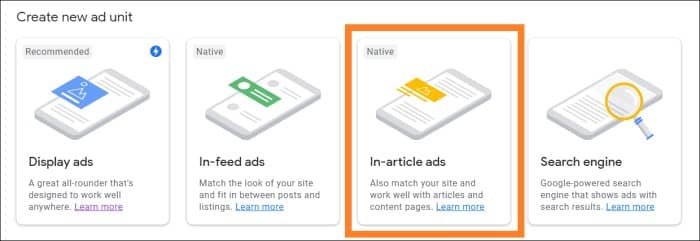
3. Name your In-article ad (e.g. "My first In-article ad").
AdSense allows you to customize the Style of your In-article ad. You'll be able to choose the font style for your ad, select color for your ad title and description, change the background of your ad, and enable Google-optimized styles to let Google optimize the colors and font of your ad (here Google may change your ad style so it'll blend well to the current design of your website).

4. Click the Save and get code button (you'll see your In-article ad code generated by AdSense).
Nicely done! Now we have 2 AdSense ad units ready to be inserted manually to our WordPress site. Let's go! 🏃
Using WP Simple AdSense Insertion Plugin to Add Google AdSense to WordPress
If you want to manually insert AdSense ads for each page on your WordPress site, you can use WP Simple AdSense Insertion plugin. WP Simple AdSense Insertion is a WordPress plugin for AdSense that you can use to easily and quickly insert Google Adsense to your pages/posts, sidebar, widgets, etc. with a shortcode. This plugin (maybe) isn't that popular compare to other WordPress AdSense plugins such's Ad Inserter – Ad Manager & AdSense Ads or Advanced Ads – Ad Manager & AdSense but it's way simpler, additionally, it's very well-suited to our requirement -- to have complete control over the ad placement on our website.
Install & Activate WP Simple AdSense Insertion Plugin
1. Log in to your WordPress site.
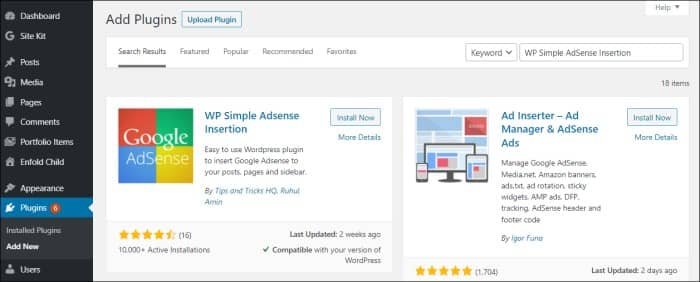
2. Go to Plugins and click Add New. Search for "WP Simple AdSense Insertion", from Search Results you should see this plugin by Tips and Tricks HQ, Ruhul Amin.
3. Hit the Install Now button.
4. Activate the plugin after installation.
AdSense Insertion option should be available now under your WordPress Settings.
Use WP Simple AdSense Insertion Shortcode to Add Google Adsense to WordPress Pages/Posts
1. From your WordPress dashboard, navigate to Settings > AdSense Insertion.
2. Copy and paste your ad unit code (choose between Display ad code and In-article ad code that we've created earlier) from AdSense to Adsense Ad Campaign 1 Code text area and click the Update options button. Don't have an ad unit yet? Follow our step above to create an ad unit first.

3. Edit one of your page/post and paste the [wp_ad_camp_1] shortcode.
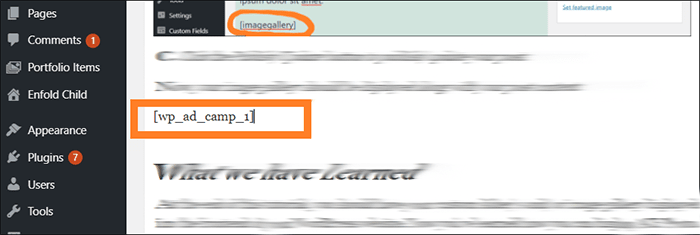
4. Click the Update button to save your changes.
Good work! In an hour or less, your ad unit should appear at the location where you exactly pasted the [wp_ad_camp_1] shortcode. 😊
Add Google AdSense to WordPress with a Shortcode (No Plugin Required)
Just like how we added Google AdSense to our WordPress site earlier with WP Simple Adsense Insertion plugin, here we'll still use a shortcode to insert ads to our pages/posts, sidebar, widgets, etc. The only difference here is we're not using any WordPress Adsense plugin -- we'll write our own AdSense shortcode instead.
For this demo, we'll create a [display_ad] shortcode.
1. Open your child theme's functions.php and paste the following code below.
// AdSense Display ad shortcode
function display_ad_shortcode() {
	return '<script async src="https://pagead2.googlesyndication.com/pagead/js/adsbygoogle.js"></script>
<!-- Display Ads -->
<ins class="adsbygoogle"
     style="display:block"
     data-ad-client="ca-pub-XXXXXXXXXXXXXXXX"
     data-ad-slot="XXXXXXXXXX"
     data-ad-format="auto"
     data-full-width-responsive="true"></ins>
<script>
     (adsbygoogle = window.adsbygoogle || []).push({});
</script>';
}
add_shortcode( 'display_ad', 'display_ad_shortcode' );
Source code explanation
Line 3: Create function display_ad_shortcode -- it'll be responsible for returning your AdSense Display ad unit.
Line 4-14: Display ad code from Google AdSense (replace it with your own Display ad code). Don't have an ad unit yet? Follow our step above to create an ad unit first.
Line 16: Register your Display ad shortcode using WordPress helper function add_shortcode.
2. Edit one of your pages/posts and paste the [display_ad] shortcode.
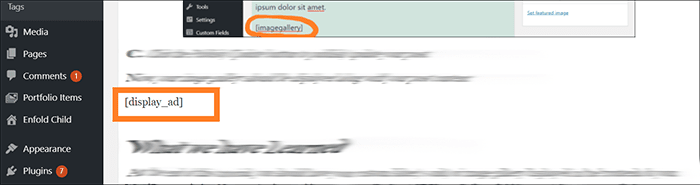
3. Hit the Update button to save your changes.
Nice! In an hour or less, your Display ad unit should appear to the location where you exactly pasted the [display_ad] shortcode.
Try to create another shortcode for your In-article ad! 😁
Using your Theme's Template to Add Google AdSense to WordPress
If you want to add Google AdSense to your WordPress templates (such's header, footer, etc.), then follow our steps below.
1. First, decide where you want to display your AdSense ad, then determine which template file you should update.
For this demo, we'll display our AdSense ad at the header of our WordPress site.
We're using Enfold theme, so the file that we need to edit is header.php. It is located at /wp-content/themes/enfold/ folder.
2. Next, make a copy of the template file (that you're going to edit) from your parent theme's folder to your child theme's folder. You have to do this so your changes won't be overwritten once you update your theme.
We'll make a copy of header.php and place it inside Enfold child theme's folder -- /wp-content/themes/enfold-child/.
3. Then, paste your AdSense code (ad unit code) within your template file.
// AdSense Display ad shortcode
function display_ad_shortcode() {
	return '<script async src="https://pagead2.googlesyndication.com/pagead/js/adsbygoogle.js"></script>
<!-- Display Ads -->
<ins class="adsbygoogle"
     style="display:block"
     data-ad-client="ca-pub-XXXXXXXXXXXXXXXX"
     data-ad-slot="XXXXXXXXXX"
     data-ad-format="auto"
     data-full-width-responsive="true"></ins>
<script>
     (adsbygoogle = window.adsbygoogle || []).push({});
</script>';
}
add_shortcode( 'display_ad', 'display_ad_shortcode' );
Source code explanation
LINE 3-11: Your ad unit code (here we'll use the raw code of the Display ad unit that we've created earlier) (replace this with your own ad unit code). Don't have an ad unit yet? You may follow our steps above to create an ad unit first.
LINE 13-17: As another option, you can use your ad unit shortcode instead (here we'll use the [display_ad] shortcode that we've created earlier). Thanks to WordPress helper function do_shortcode, it makes it easier to call a PHP function from WordPress theme's template. Uncomment these 3 lines of code if you prefer ad unit shortcode instead of ad unit raw code in your theme's template.
4. Lastly, save your changes on your WordPress template file.
Good job! If you also want to add Google AdSense to your WordPress site's footer, then you have to determine too which template file your footer is using. Next, make a copy of that file in your child theme's folder. Then, paste your ad unit code or AdSense shortcode in it (just like above).
In an hour or less, your ad unit should appear in the header/footer of your WordPress site. 🤘
Using Code Block Element to Add Google AdSense to WordPress (For Enfold Theme Users Only)
If you're using Enfold theme, you can take advantage of its Code Block element to add Google AdSense to certain locations on your WordPress site.
Note: You should be using Enfold's Advanced Layout Builder to be able to add the Code block element.
1. First, edit one of your pages or posts.
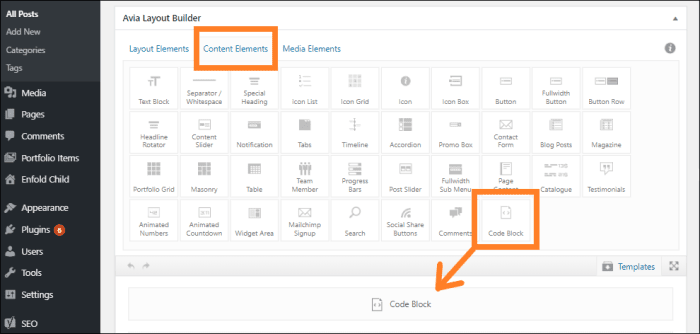
2. Next, from Avia Layout Builder, select the Content Elements tab, then drag-and-drop the Code Block element to the layout builder area.
3. Then, open (click) your Code Block element and paste your ad unit code in it. Don't have an ad unit yet? Follow our step above to create an ad unit first.
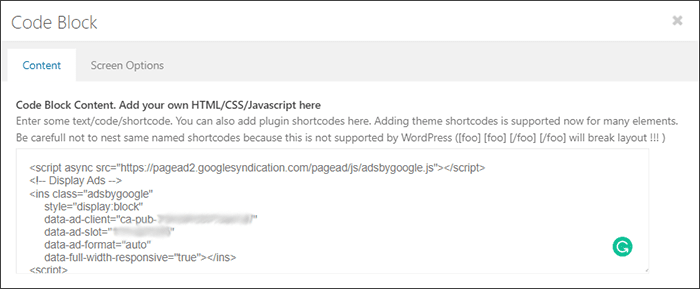
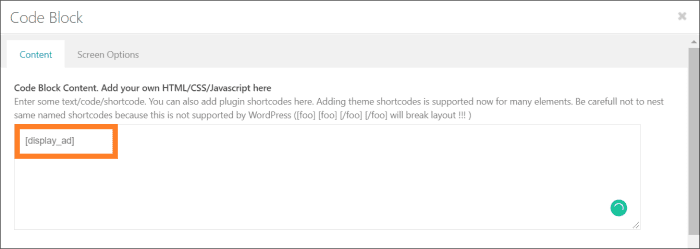
As another option, you can also paste your ad unit shortcode in your Code Block element (here we'll use the [display_ad] shortcode that we've created earlier). Haven't yet created a shortcode for your AdSense ad unit? Follow our step above to create a shortcode for your AdSense ad unit first.
4. Click the Update button to save the changes on your page/post.
Nicely done! In an hour or less, your ad unit should appear at the location where you exactly placed your Code Block element. 🤘
Connect your WordPress Site to Google AdSense (Bonus Guide)
Before you can connect your WordPress site to Google AdSense, you should have an AdSense account first. If you don't have one yet, then follow the steps below to create your very first AdSense account!
Create your Google AdSense Account for your WordPress Site
Skip this step if you already set up your AdSense account.
1. Go to Google AdSense website.
2. Click the Get Started button at the top right corner of their page.
3. Fill up the Google AdSense sign-up form.
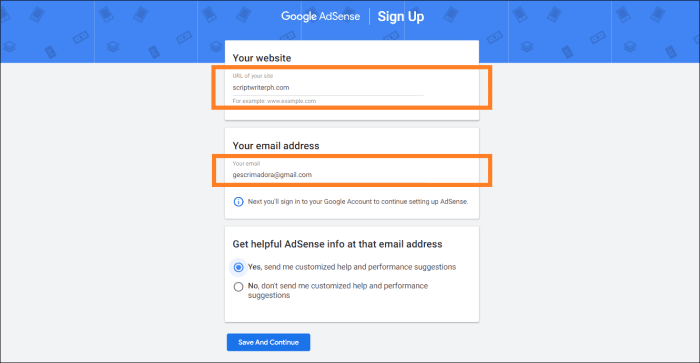
Provide the "URL of your site" and "your email address".
To get helpful AdSense info and tips from Google, we encourage you to check "Yes, send me customized help and performance suggestions" (just check it out, Google will never send you spam emails 😉).
Click the Save And Continue button to proceed.
4. For verification purposes, you have to sign in to your Google Account to continue setting up AdSense.
5. Continue to fill up the Google AdSense sign-up form.
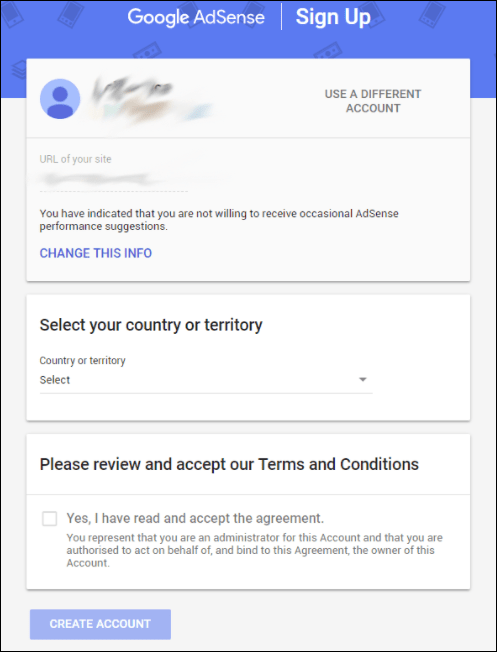
Select your country or territory. Make sure that you've selected the correct country. In the future, Google will refer to this kind of info before they mail you (physically) your Personal Identification Number (PIN).
Important: As of now there's no way to change the country of your payment address in AdSense. You have to cancel your existing AdSense account and create a new one if you've submitted Google with the wrong details. So you really have to pay attention while providing this kind of detail to Google.
Review and accept Google AdSense terms and conditions. Check "Yes, I have read and accept the agreement" and click the Create Account button to continue.
You'll be redirected to your AdSense Account home page.
6. Get started with your AdSense Account.
Click the Get Started button.
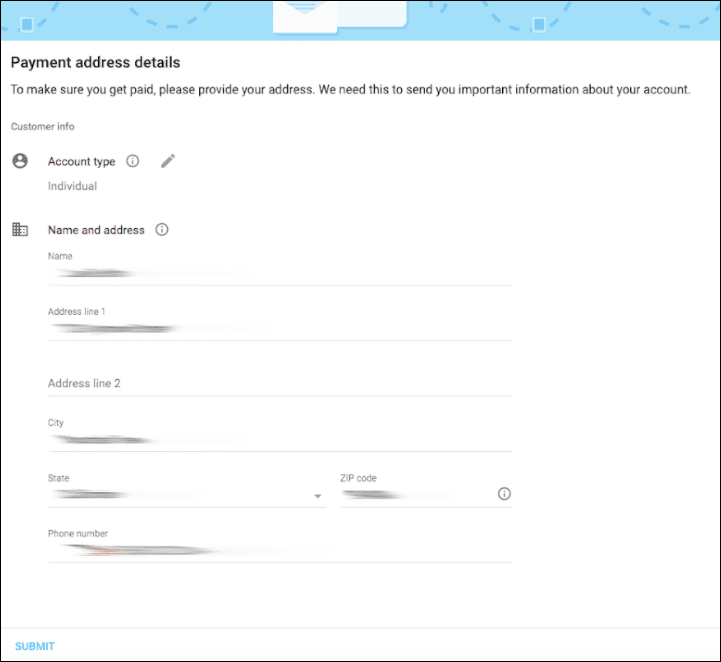
Provide your payment address details:
- Account Type (select "Individual" if you're applying to AdSense as an individual person, otherwise select "Business")
- Name and Address (provide your full name, payment address, and your phone number)
Click Submit button to continue.
You'll be redirected again to your AdSense Account home page (with your AdSense code).

You have to copy and paste your Google AdSense code above in your WordPress site's HTML -- between the head tags. Don't worry, you don't have to do it manually -- we'll use Site Kit by Google plugin to easily connect our WordPress site to AdSense.
Connect your WordPress Site to AdSense using Site Kit by Google Plugin
As we stated above, we'll set up Google AdSense on our WordPress site using Site Kit by Google plugin (recommended for WordPress users). This plugin will automatically add the AdSense code in our WordPress site's HTML -- between the head tags.
Install & Activate Site Kit by Google Plugin
1. Sign in to your WordPress site.
2. From left sidebar of your WordPress dashboard, hover your mouse cursor to Plugins and click Add New. Search for "Site Kit by Google", from Search Results you should see this plugin by Google.
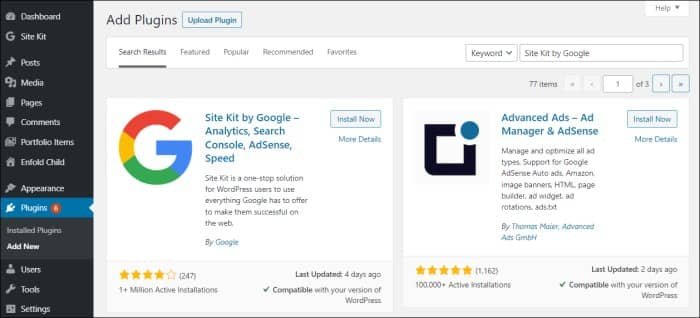
3. Click Install Now button.
4. Activate the plugin right after the installation.
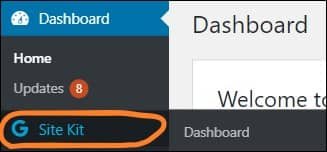
Site Kit tab should be visible now from your WordPress dashboard sidebar.
Set Up Google Site Kit
1. From left sidebar of your WordPress dashboard, click Site Kit.
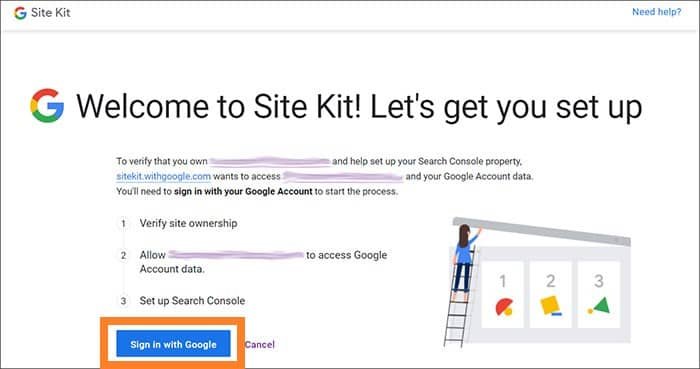
2. Start setting up Site Kit by clicking Sign in with Google button.
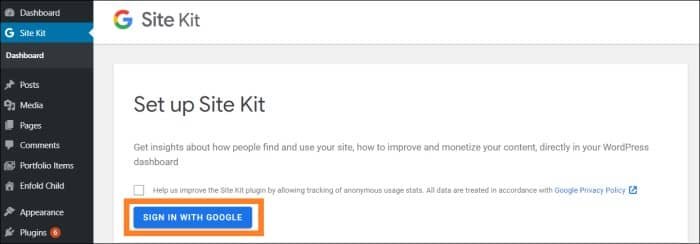
You'll be redirected to Site Kit's website.
3. Again click Sign in with Google button.
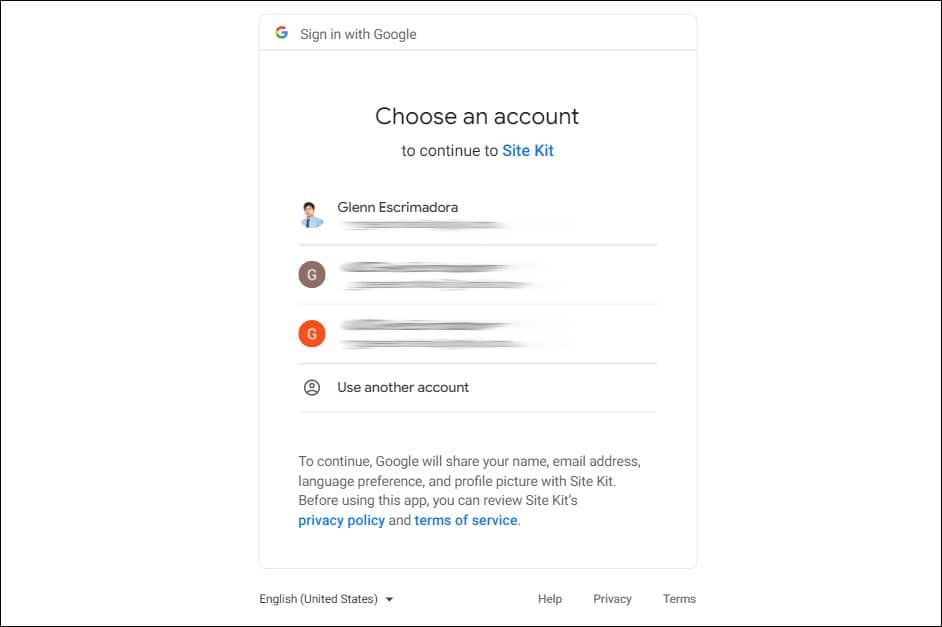
You'll be prompted to sign in with your Gmail account.
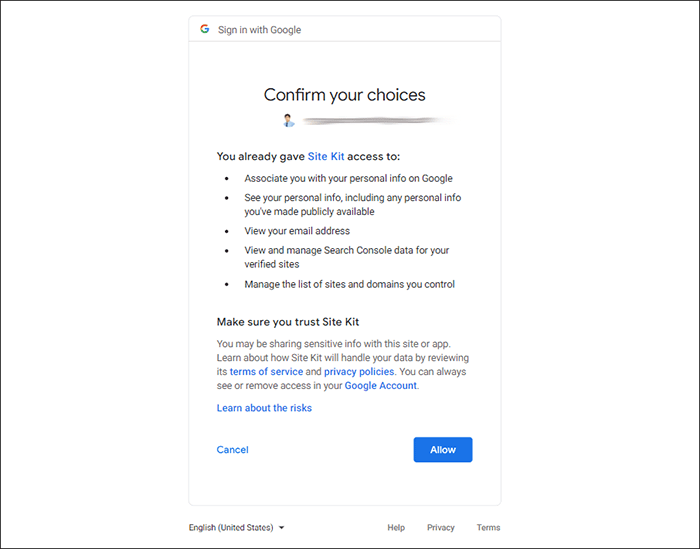
4. Next, click the Allow button to give Site Kit access to your information.
5. Continue setting up Google Site Kit.

Verify site ownership. Click the Proceed button to let Google verify your ownership of your site.
Allow your site to access Google Account data. Click the Allow button to allow your site to access your Google Account data to display metrics on the Site Kit dashboard.
Set up Search Console. Click the Add Site button to add your site to Search Console so you can see how people find your site on Search.
6. Lastly, click the Go to my Dashboard button to go back to your WordPress site's Site Kit dashboard.
You're finished setting up the Site Kit! 🤘
Now you just have to wait for Google AdSense to review your account. Google AdSense account approval can be as quick as 24-48 hours, but sometimes it can take 2 to 4 weeks. You'll receive an email from AdSense like below once your account's approved.

Once your account's approved, you should be able to get insights about how people find and use your site, how to improve and monetize your content, and many more.
This is very informative. Thank you!