

Steps to Add Mailchimp Form to Your WordPress Site Using Mailchimp for WordPress Plugin
Last updated on February 20th, 2021
The primary purpose of this article is to provide you an easy to follow guide to add Mailchimp form to your WordPress site. We'll use a WordPress plugin called Mailchimp for WordPress to easily integrate your Mailchimp account with your WordPress site.
Here, we've also included steps to set up your Mailchimp account (in case you haven't created one yet).
Lastly, a bonus guide for you! This is an optional step though. We'll teach you how to add custom fields to your Mailchimp form.
Before we begin, prepare these two:
- Your Mailchimp account (don't have Mailchimp account yet? create your Mailchimp account here first).
- Your WordPress site running on your server.
That's all, now let's get started!
Create a Mailchimp Account
Skip this step if you already have Mailchimp account.
From your browser, navigate to Mailchimp's sign up form.
Provide your email address and create a username and password for your account.
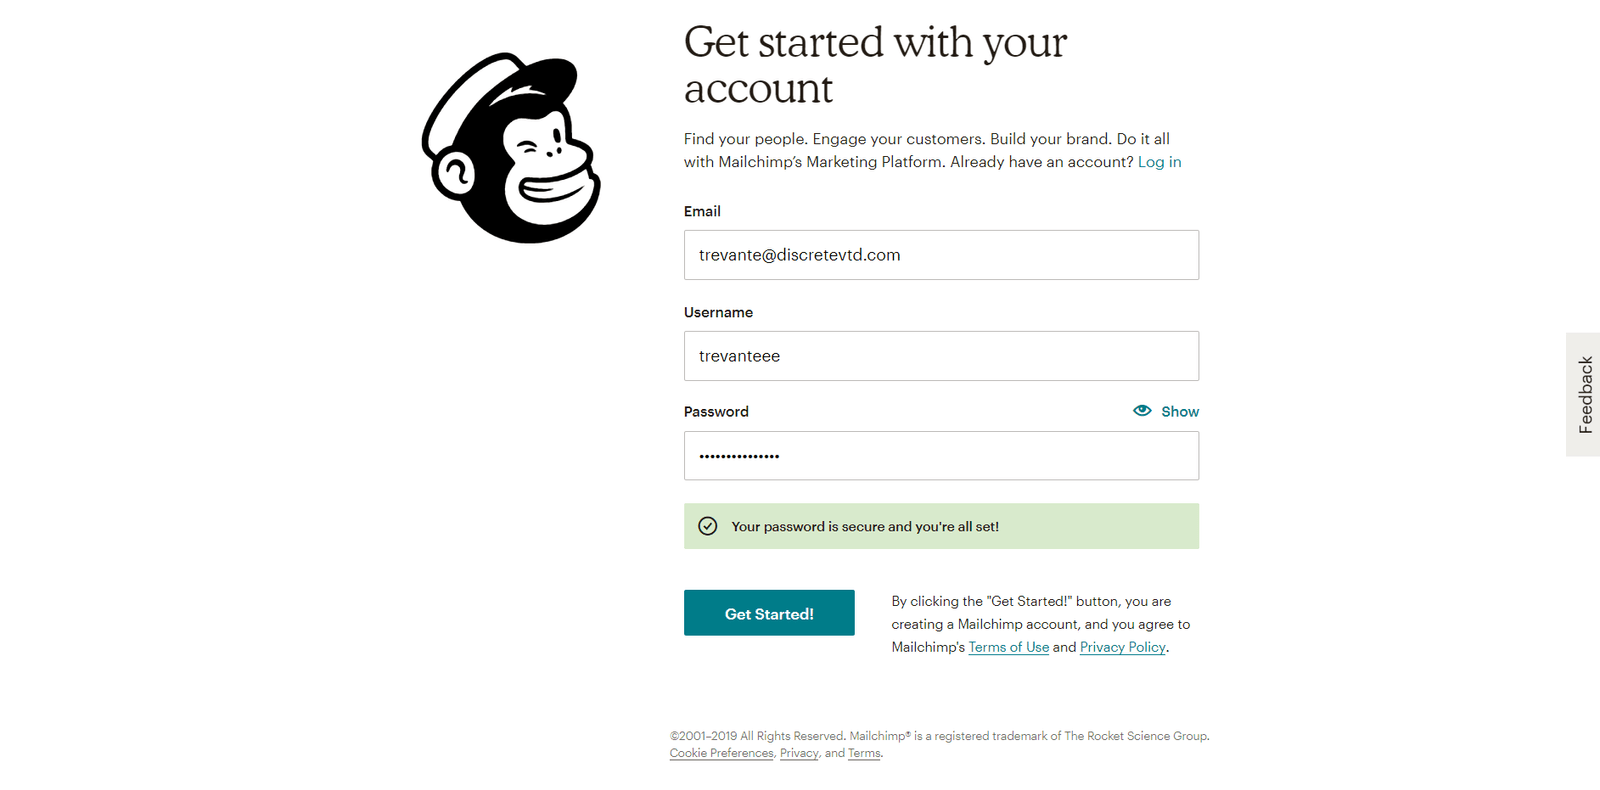
Get started with Mailchimp
Read Mailchimp's Terms of Use and Privacy Policy. If you agree on both then click Get Started! button. Mailchimp will send you an email containing a link to activate your account.
Open the email sent by Mailchimp and click Activate Account button (you'll be redirected to page where you need to confirm your account).
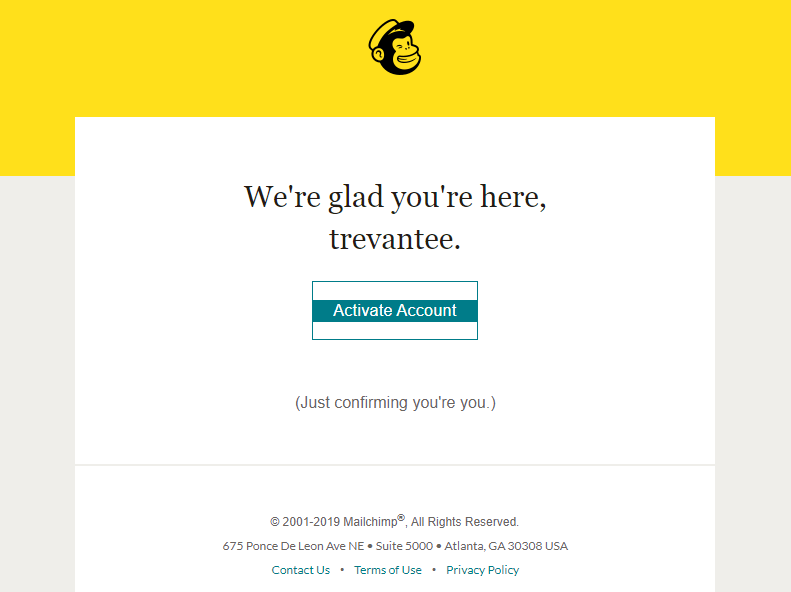
Activate Mailchimp account
Confirm that you're a human. Hit I'm Not A Robot button and answer the reCAPTCHA image test.
Select your plan (let's say we're just getting started with Mailchimp so we'll select FREE). You may compare Mailchimp plan features here.
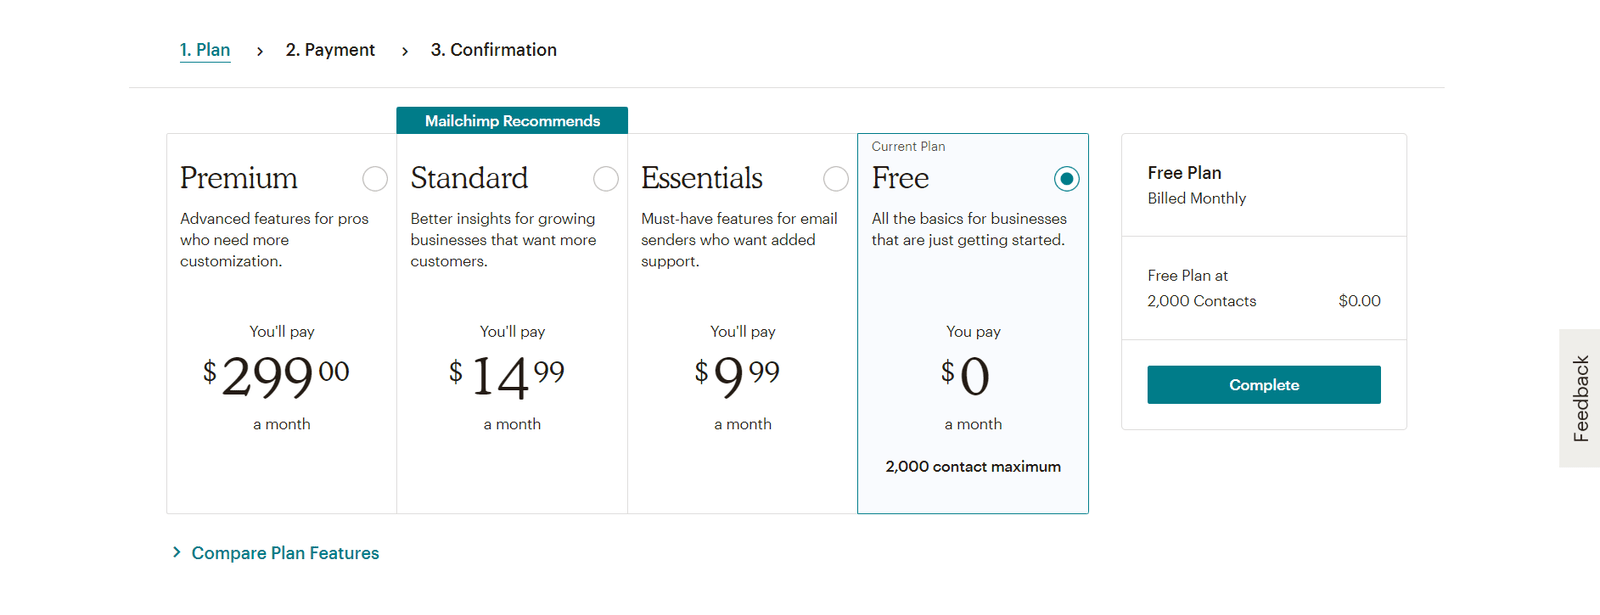
Select Mailchimp plan
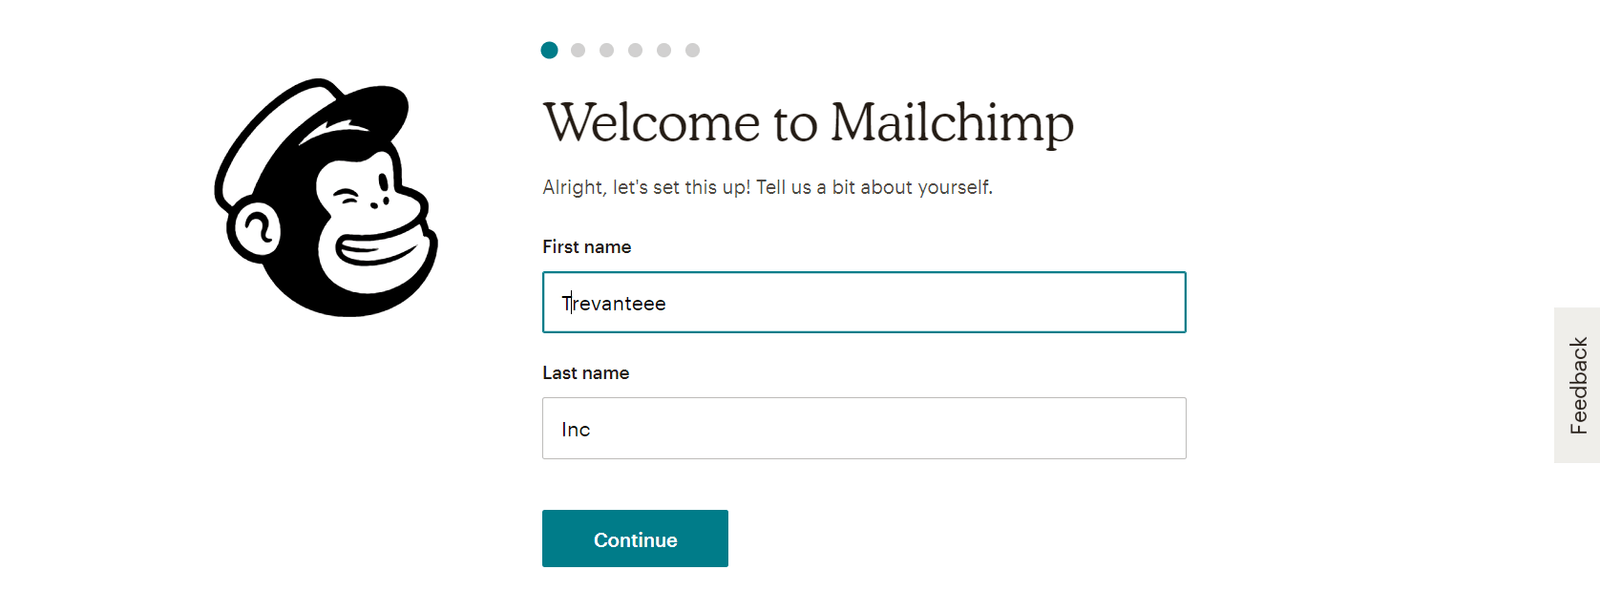
Mailchimp will ask vital information from you and your business. Provide your first name and last name then click Continue to proceed.
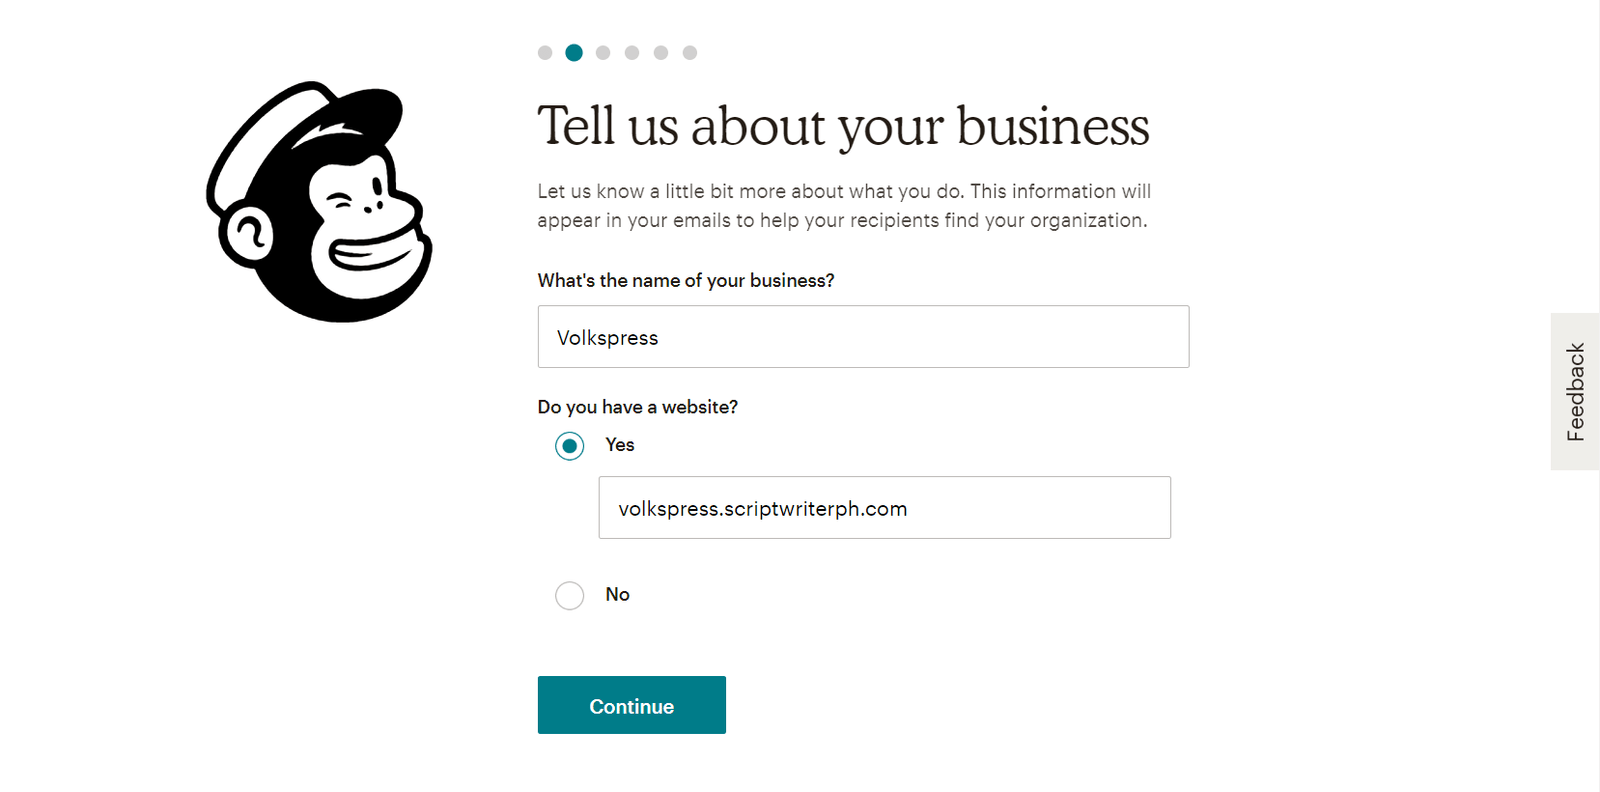
Next, provide the name of your business or organization and your website domain as well.
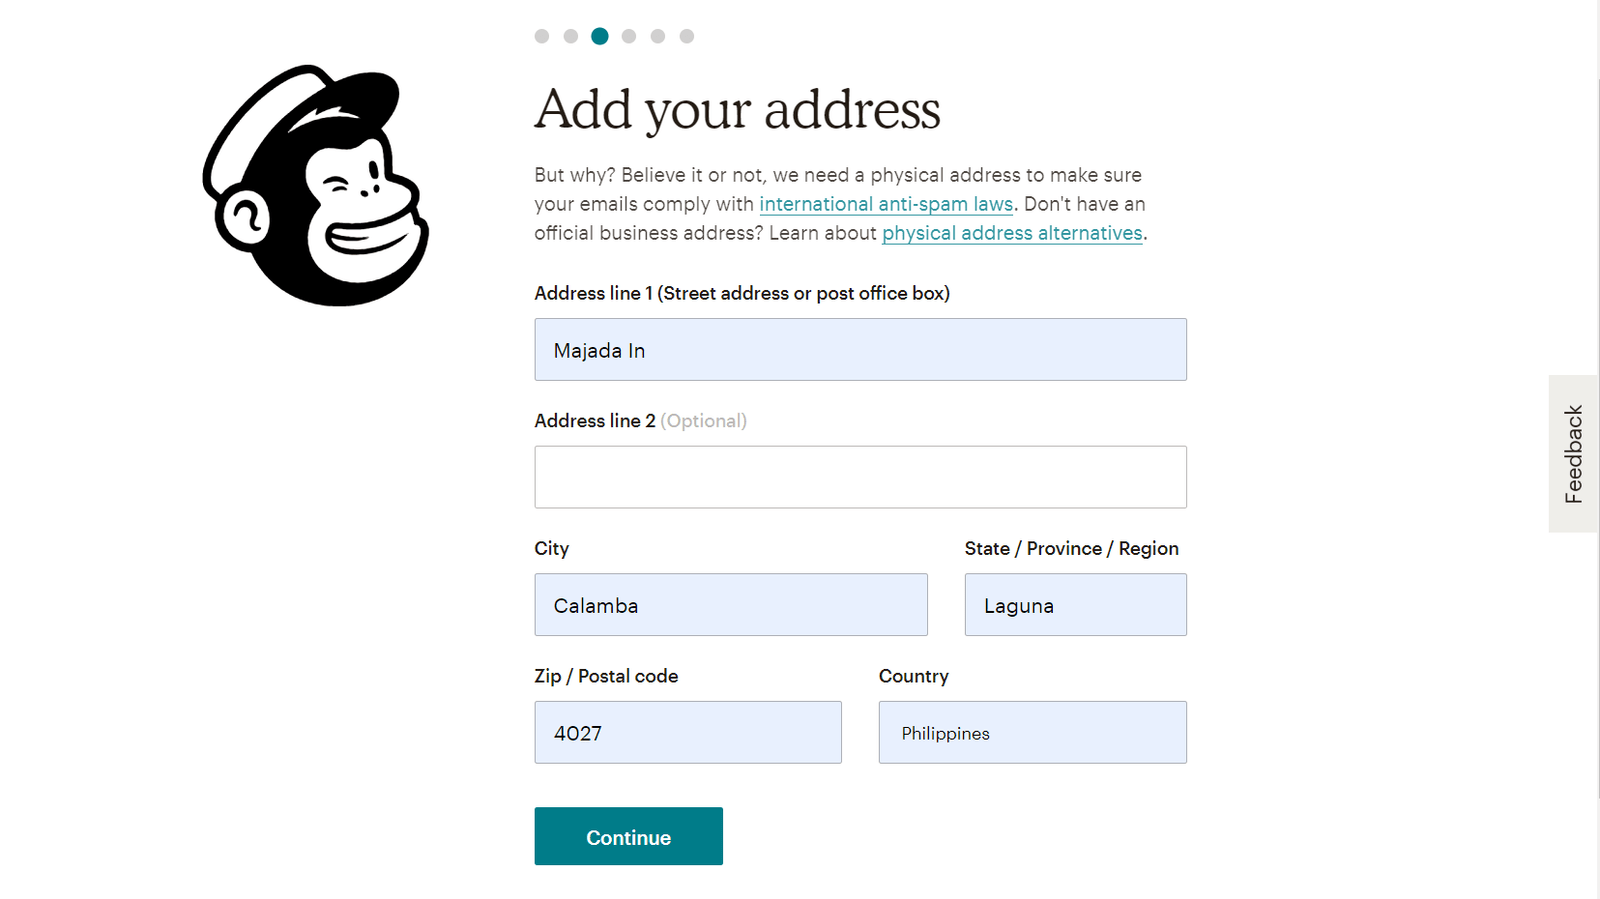
Add your address and click Continue.
Mailchimp will ask you if you already have a list of email subscribers. Select No if you don't have subscriber list yet.
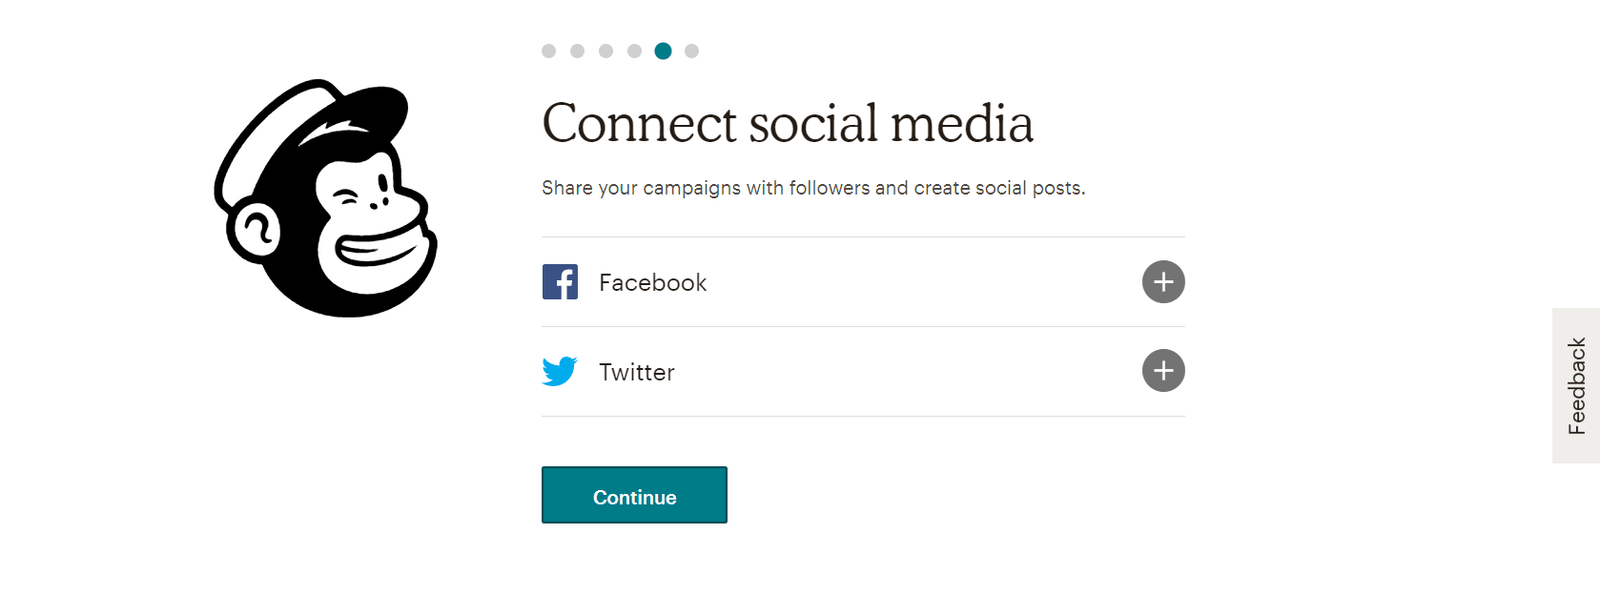
Already have Facebook and Twitter accounts (preferably with good number of friends and followers)? You may connect those social media with Mailchimp to share your campaigns with your friends and followers.
Click Continue button for the next step.
Mailchimp can assist you to find your marketing path. We'll skip that step for now thus our priority is to setup Mailchimp for WordPress first. So we'll click Not right now button.
Your Mailchimp account is now ready. Check Subscribe if you want to receive Mailchimp's newsletter bi-weekly containing email marketing helpful tips. Hit Let's Go to finish setup of your account (you'll be redirected to Mailchimp's admin dashboard).

Install & Activate Mailchimp for WordPress Plugin
Sign in to your WordPress site.
From left sidebar of your WordPress dashboard, hover your mouse cursor to plugins and click Add New. Search for "Mailchimp for WordPress", from Search Results you should see this plugin by ibericode.
Hit Install Now button.
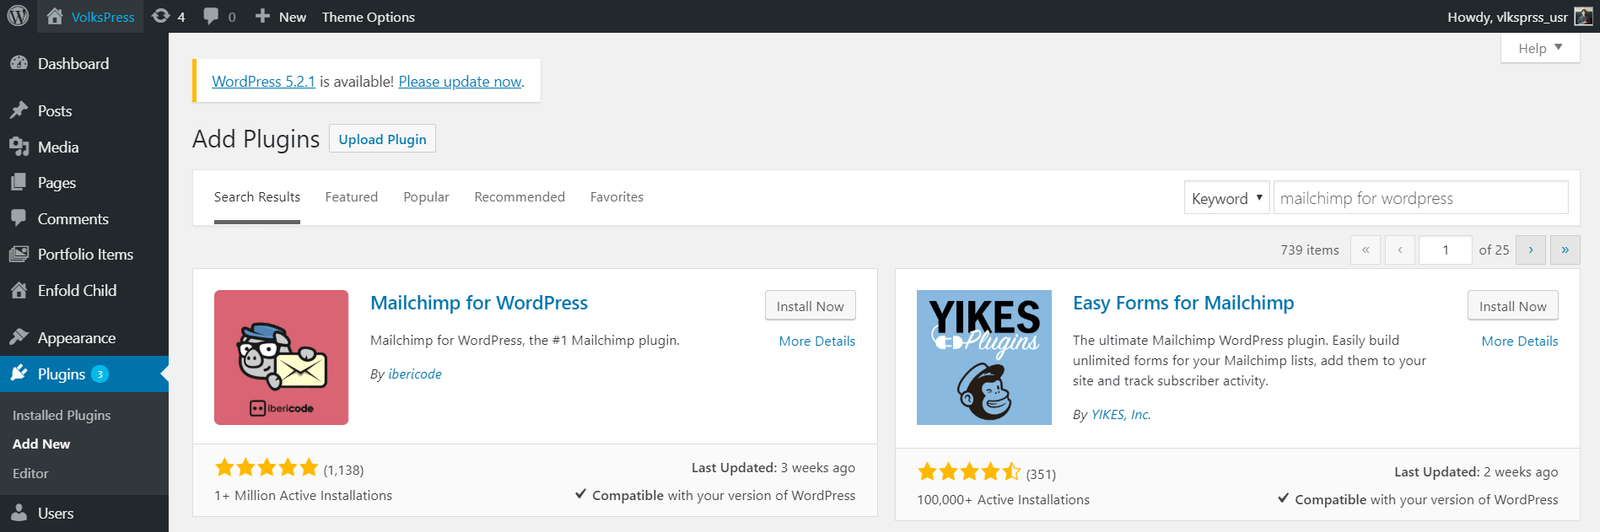
Install Mailchimp for WordPress plugin by ibericode
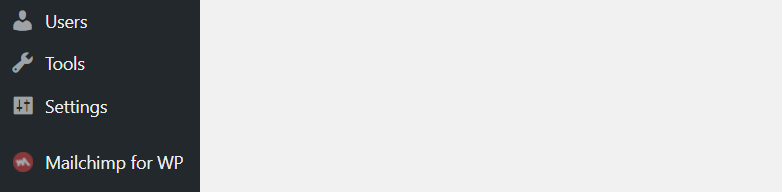
Activate the plugin after installation. Mailchimp for WP tab should be visible now from your WordPress dashboard sidebar.
If you need to manually install the plugin, you must download Mailchimp for WordPress plugin here first. Next, upload and extract the plugin zip file (mailchimp-for-wp.zip) inside of /wp-content/plugins of your WordPress folder. Now go back to your WordPress dashboard, navigate to plugins and activate Mailchimp for WordPress plugin.
Setup Mailchimp for WordPress Plugin
Mailchimp for WordPress plugin will help us integrate our Mailchimp account with our WordPress website in seconds. We will also use this plugin to create our very first Mailchimp form.
Follow these few steps below to setup Mailchimp for WordPress plugin.
Step 1: Get your Mailchimp API key.
From your WordPress dashboard, navigate to Mailchimp for WP. Under General Settings you will see this Mailchimp API Settings.

Mailchimp API settings
From Mailchimp API Settings, you'll notice that the status currently set as NOT CONNECTED. That's completely normal because our WordPress site is not connected yet with our Mailchimp account. Connecting with your Mailchimp account requires an API key. Your Mailchimp API key will give you full access to your Mailchimp account. By default, you don't have active API keys after creating your new Mailchimp account.
To generate API key, sign in to your Mailchimp account first and navigate to your Account.
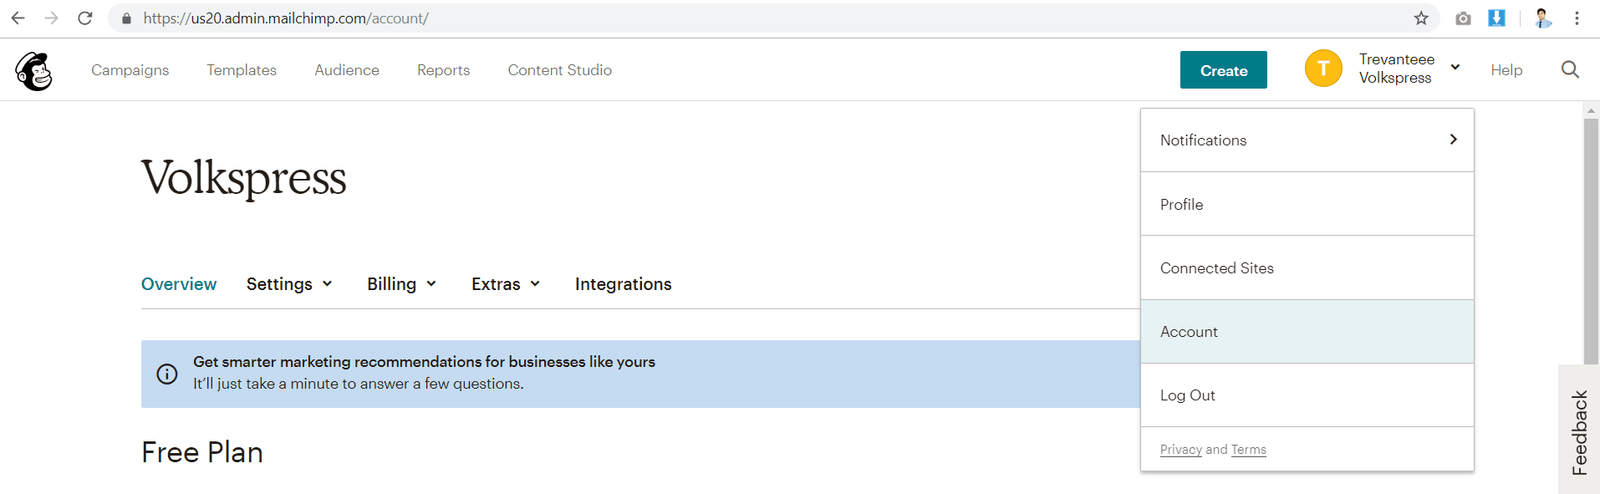
Navigate to Mailchimp account
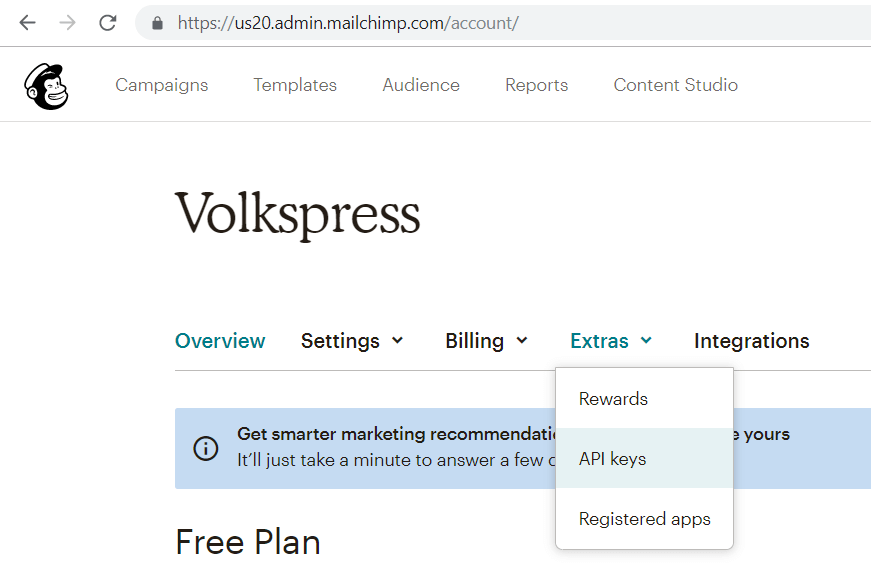
Click Extras and select API Keys.
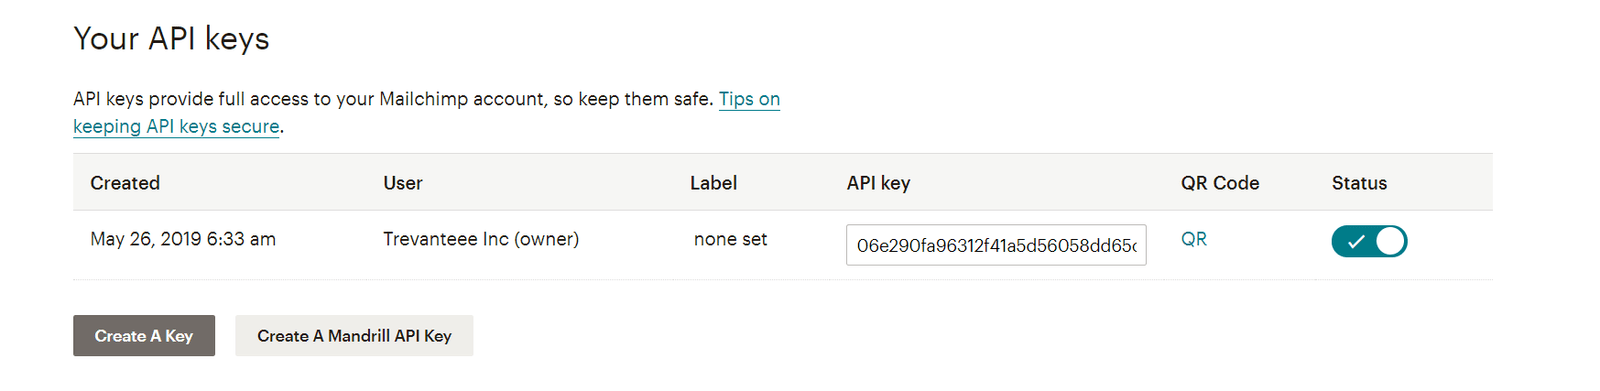
Scroll down until you see API Keys section.
Generate new Mailchimp API Key by clicking Create A Key button.
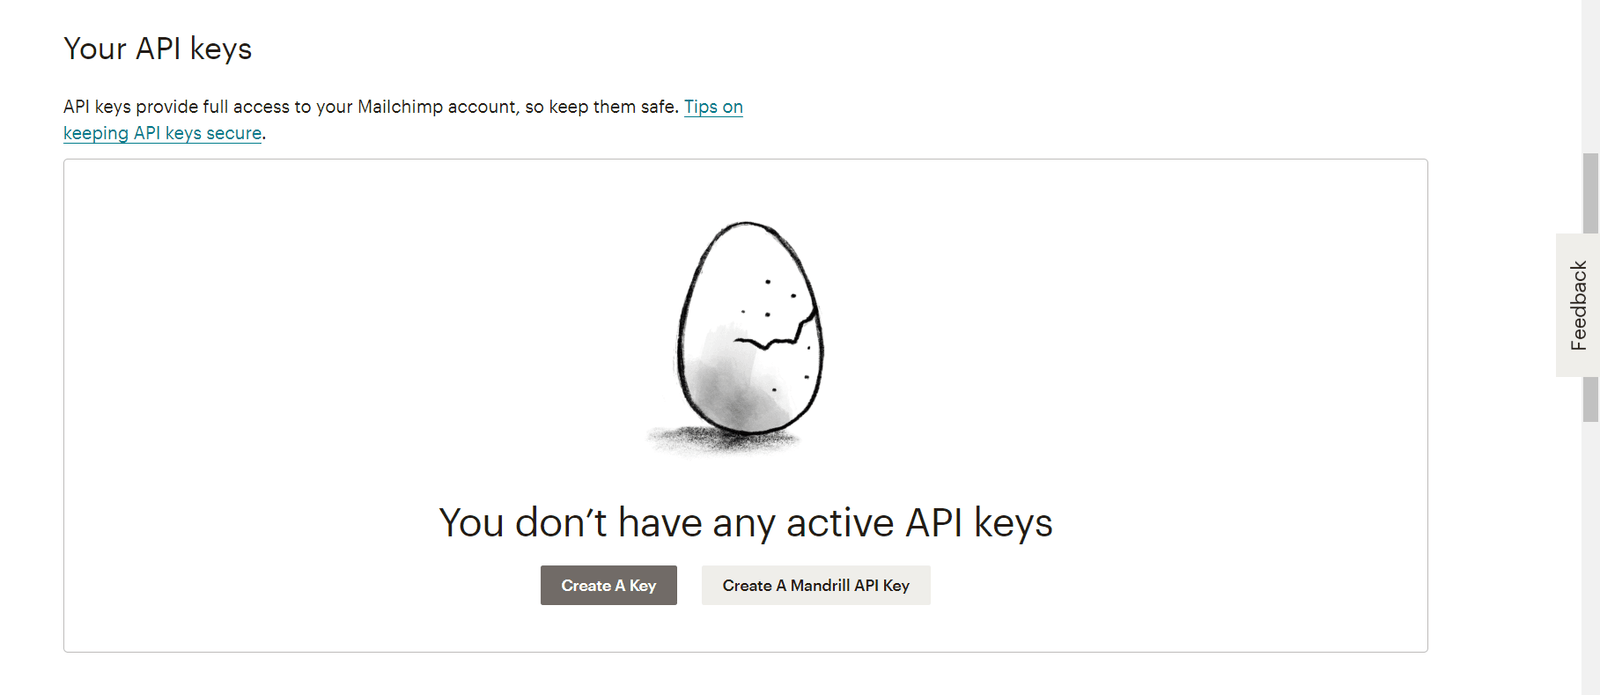
Create Mailchimp API key
You should see a message that says "Your new API key is ready to use".
Scroll down until you see the API Keys section. You should see your newly created API key.
Step 2: Connect with your Mailchimp account using your API key.
Copy your newly generated API key from your Mailchimp account.
Go back to your site's Mailchimp API Settings and paste your API key to API key field.
Hit Save Changes button.
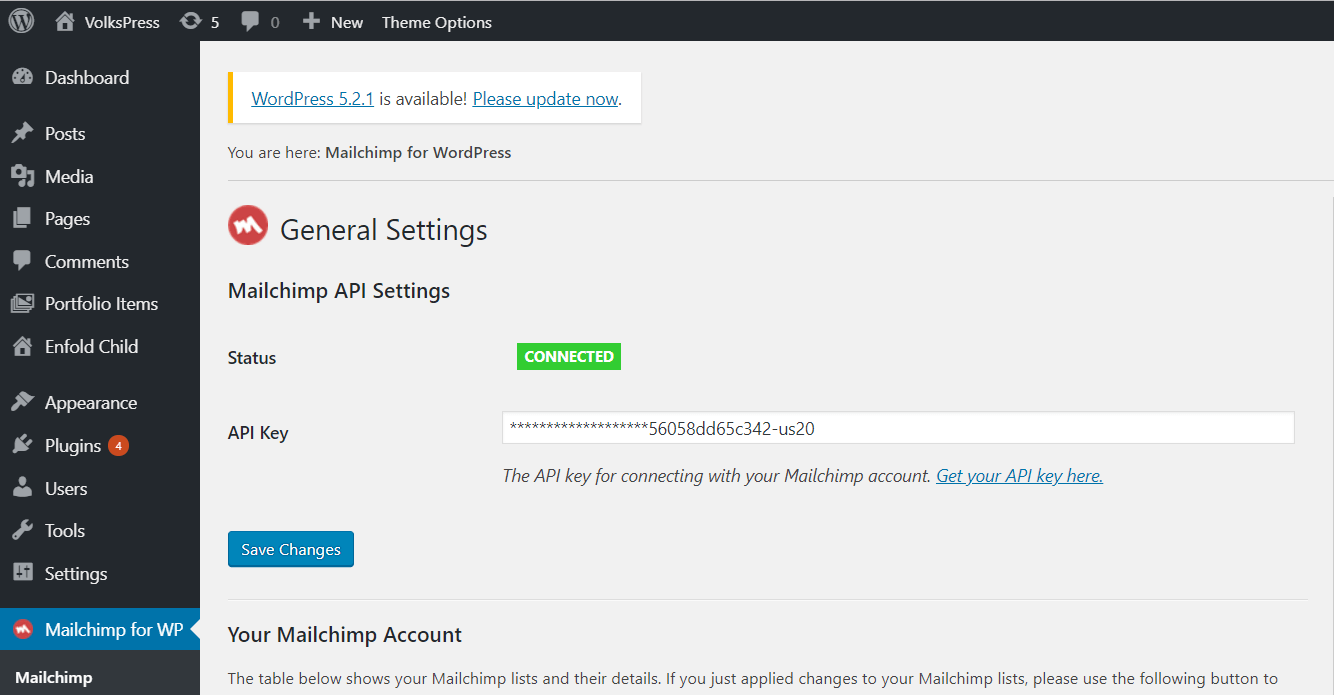
You should see the status field changed from NOT CONNECTED to CONNECTED.
Step 3: Create and configure your first Mailchimp form.
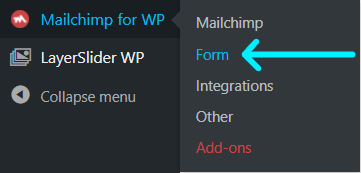
Go to Mailchimp for WP Form to create your first Mailchimp form.
You should see a text field asking your Mailchimp form name and a check box with a label of your first Mailchimp list. Provide a unique name for your form and make sure you've checked/selected the respected Mailchimp list. Hit Add new form button to create your first Mailchimp form.

Create your first Mailchimp form
Upon creation of your Mailchimp form, Mailchimp for WordPress plugin will also generate a piece of shortcode for you. We'll paste that shortcode to a page, post, or maybe to a widget where we need to display the form. We'll do that after setting up our Mailchimp form.
Mailchimp for WP Form distinct settings into 4 tabs (fields, messages, settings, appearance) that you may configure anytime.
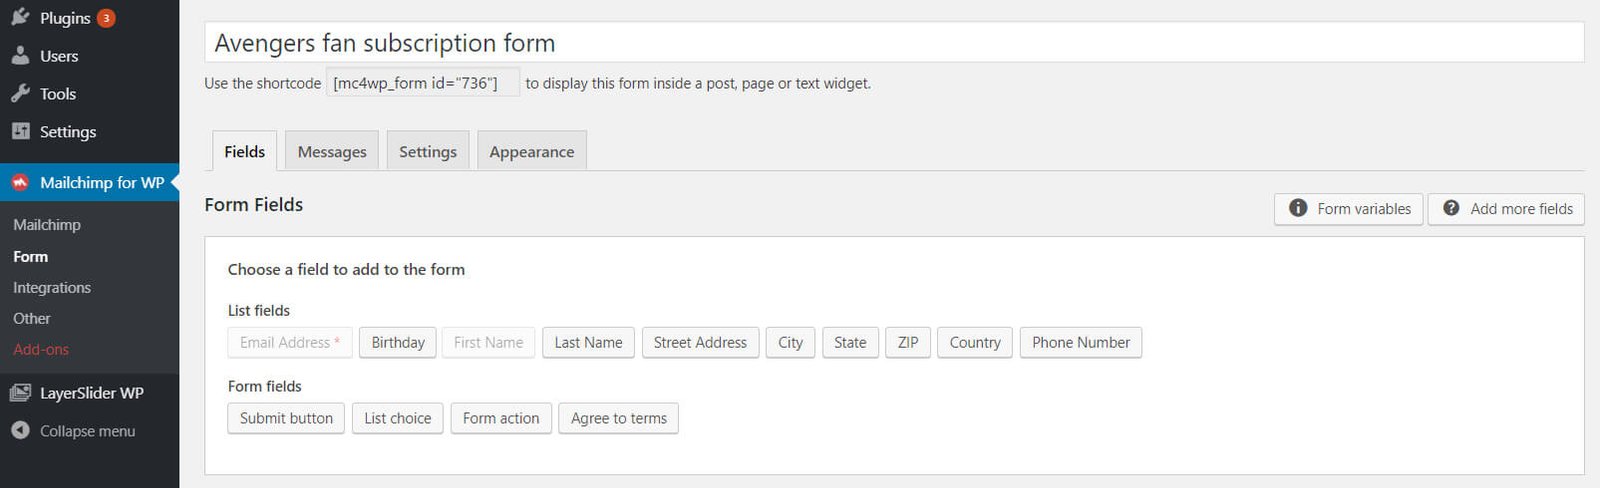
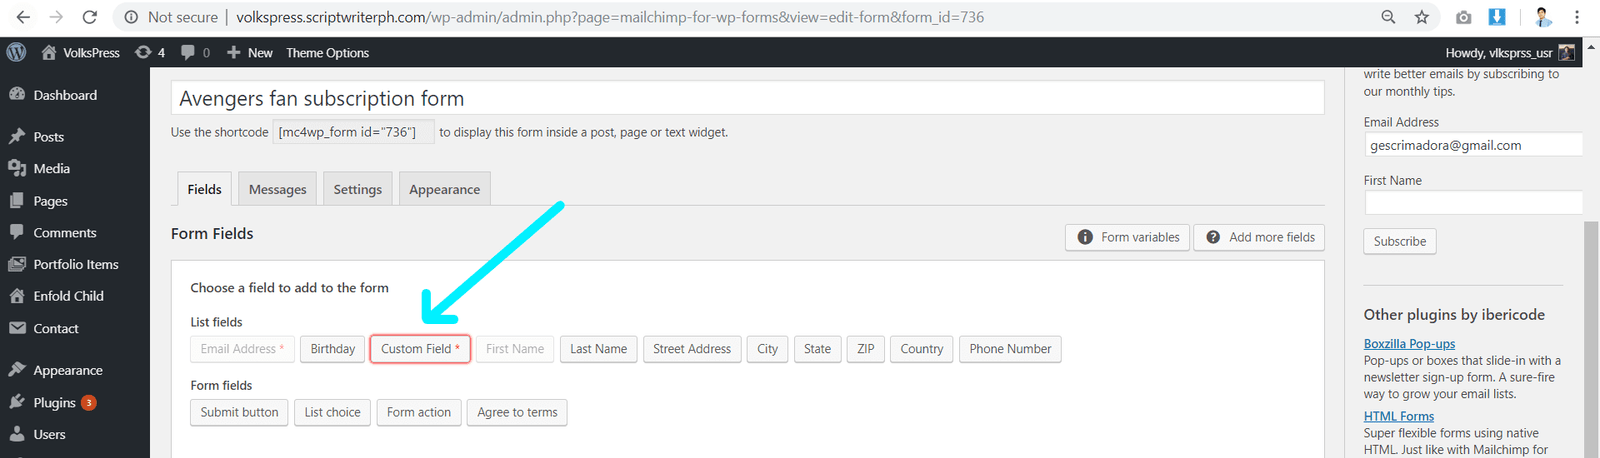
1. Fields tab. From Fields tab, you'll see all available fields that you can add to your form. We'll tell you later how to add custom fields to your Mailchimp form.
Add respective field/s you need to your form. Each field you'll click will show a modal where you can change Field label, Placeholder, Initial value, and other settings of your field. Each field you'll add will generate HTML code automatically.
After adding field/s to your form, check the Form preview just to make sure you've added the correct set of fields to your form.
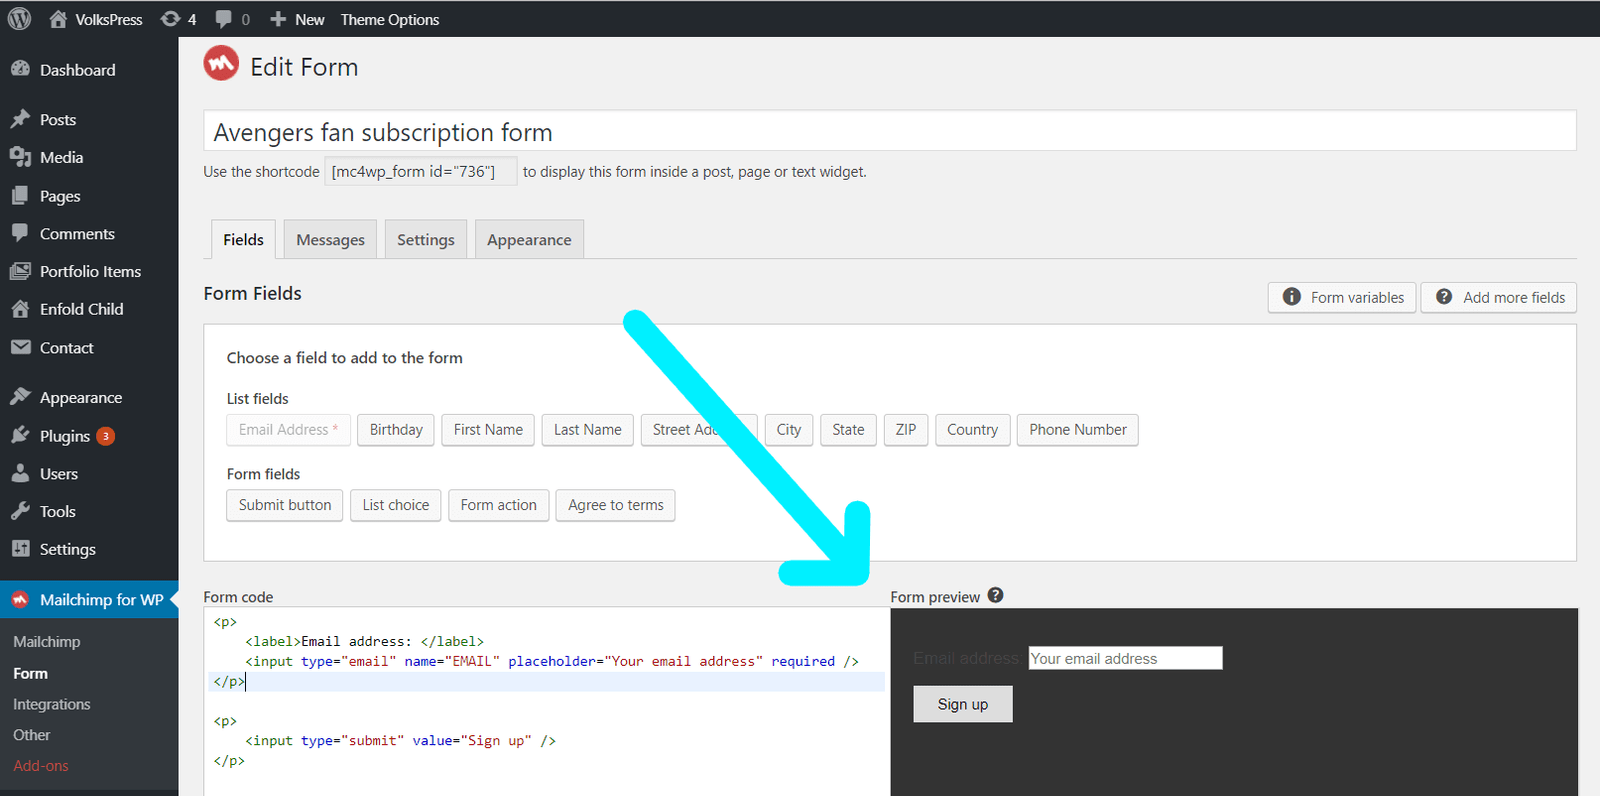
Mailchimp for WP - fields tab
2. Messages tab. Go to Messages tab if you want to compose custom message for your subscribers. You may set a custom message for successful subscriptions, invalid/required fields, and others.
3. Settings tab. You'll see two sections here from Settings tab. First, Mailchimp specific settings and second Form behaviour.
a. Mailchimp specific settings.
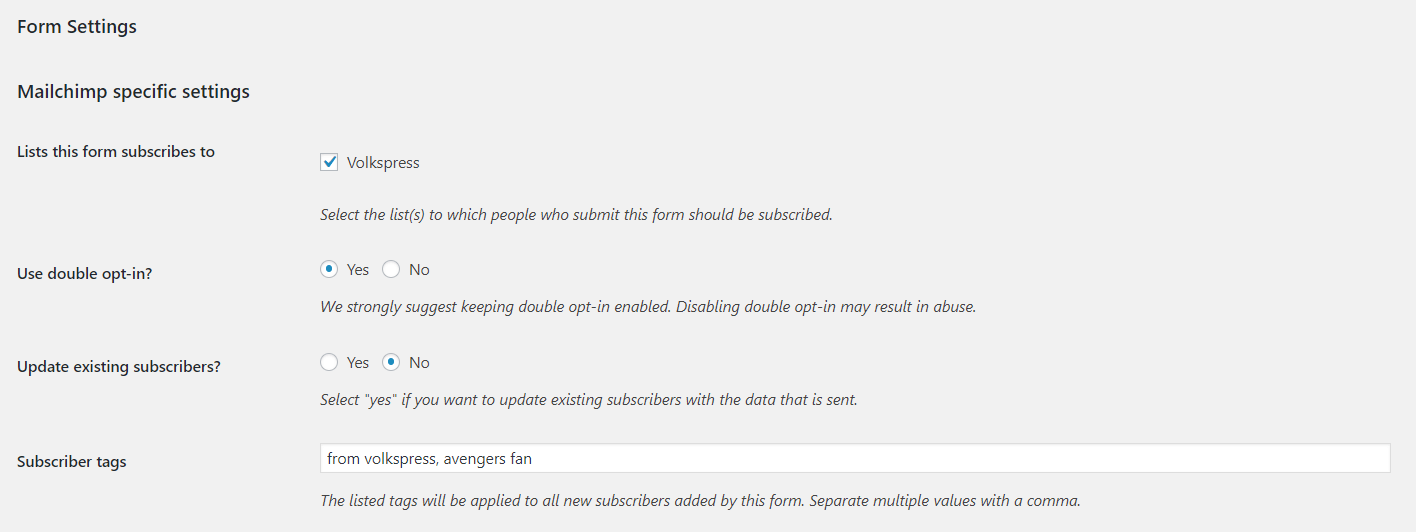
Following are guides for each field setting above.
Lists this form subscribes to - you'll see your Mailchimp list/s here. Your subscribers will be added to list/s that you will select here.
Use double opt-in? - just like what the form suggested, select yes so you're subscribers will be required to verify their subscription from their email.
Update existing subscribers? - select yes if you want to update data of your existing subscribers once they subscribed again.
Subscriber tags - Mailchimp supports tagging. Tags would be helpful if you want to distinct people who subscribe from this form.
b. Form behavior
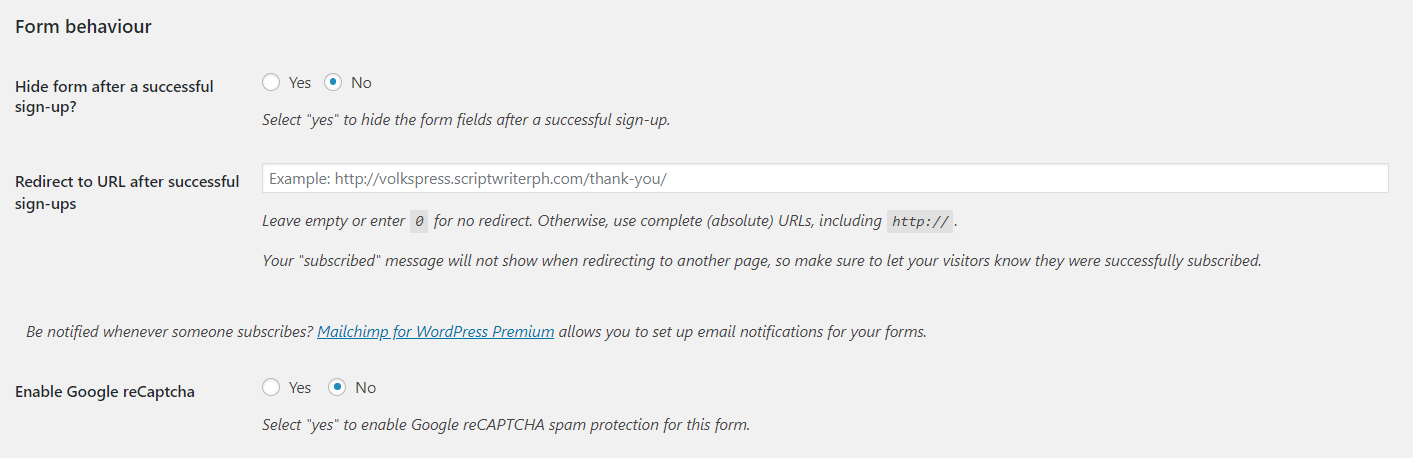
Below are guides for each field setting above.
Hide form after a successful sign-up? - if you select yes form will be hidden on form submit.
Redirect to URL after successful sign-ups - redirect your subscriber to a specific page (preferably to a thank you page) on form submit.
Enable Google reCaptcha - you may enable ReCaptcha to your Mailchimp form to add security. Register your site for reCAPTCHA here. After you register your site for reCAPTCHA, get your reCAPTCHA Site Key and reCAPTCHA Secret Key. Now you can provide your Google reCAPTCHA keys.
4. Appearance tab. Go to Appearance tab to choose style for your Mailchimp form. You may select inherit from your child theme, basic or color themes.
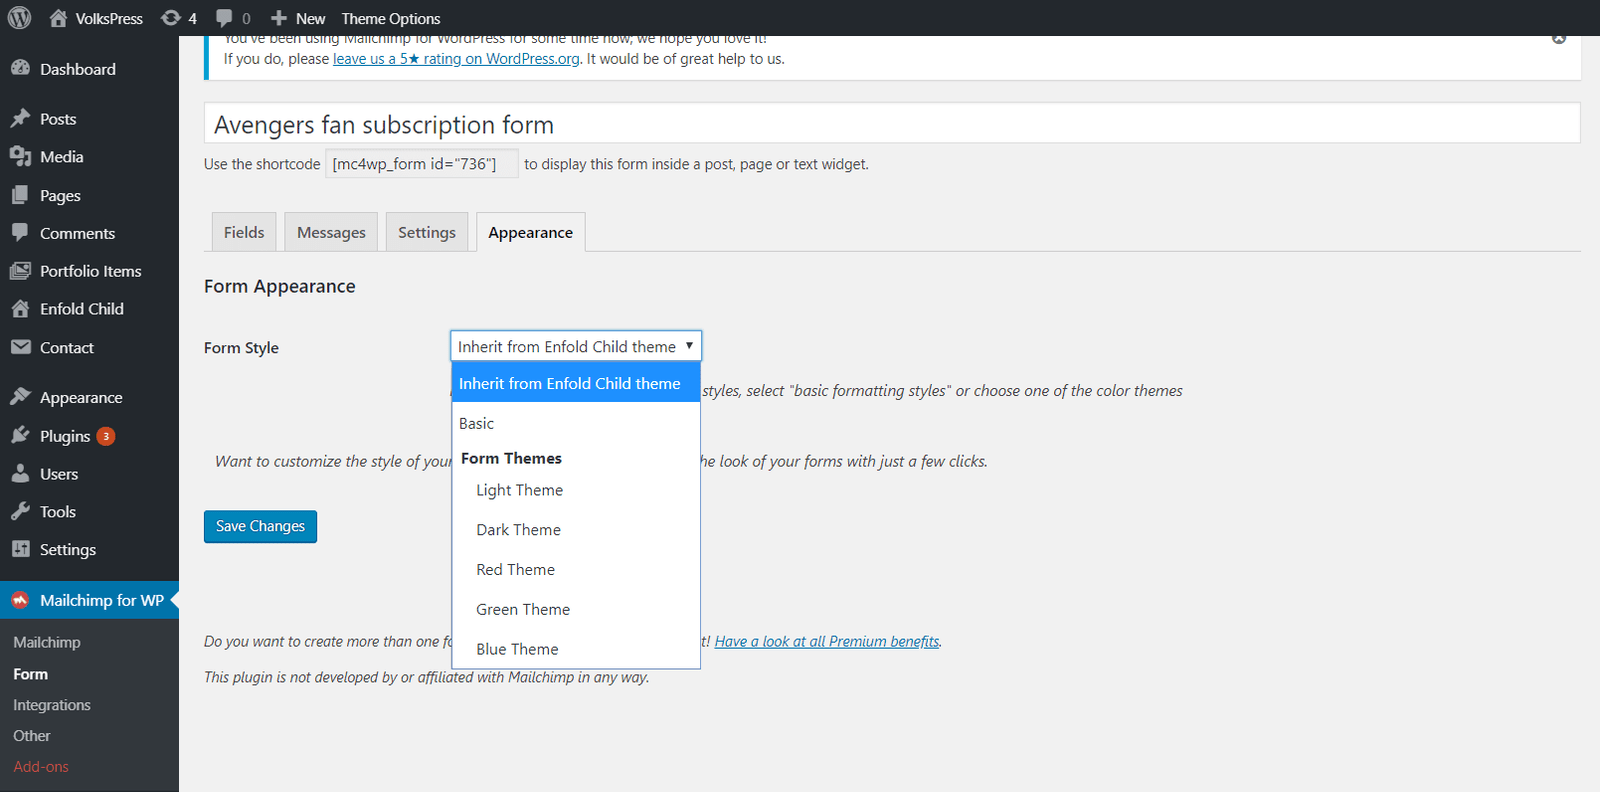
Select form style for your Mailchimp form
Okay, everything has been set up! Don't forget to click Save Changes button for all settings to take effect.
Finally, Add Mailchimp Form to Your WordPress Site
We will use the shortcode generated by Mailchimp for WP plugin to display the form in a post, page, or widget.
Go to Mailchimp for WP Forms to get/copy your shortcode.
a. Add your Mailchimp form to a page.
Add/Edit the page where you want to add your Mailchimp form.
Paste your shortcode somewhere on your page.

Add your Mailchimp form in a page
Click Save button.
Check your page to verify if your Maichimp form properly displayed.
b. Add your Mailchimp form in a post.
Add/Edit your post where you want to add your Mailchimp form.
Paste your shortcode somewhere in your post.
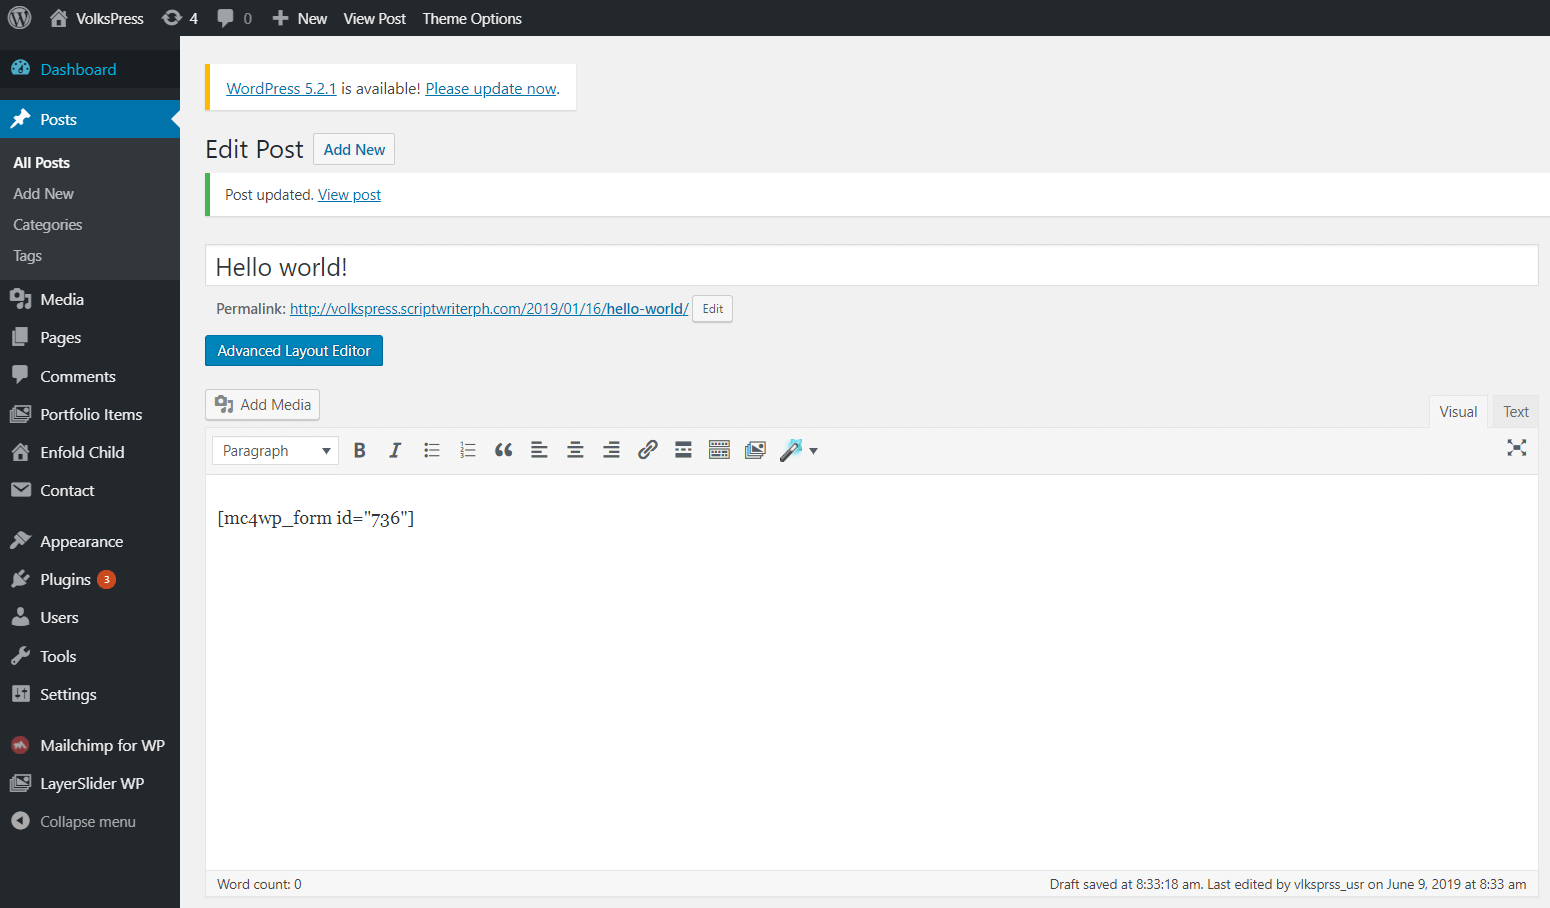
Add your Mailchimp form in a post
Hit Save button.
Check your post to verify if your Mailchimp form properly displayed.
c. Add your Mailchimp form in a widget.
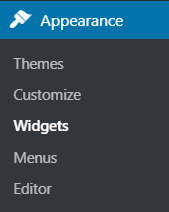
Under Appearance, click widgets.
Choose the widget you want to display your Mailchimp form (in this tutorial we'll try to display the Mailchimp form from the blog's sidebar.
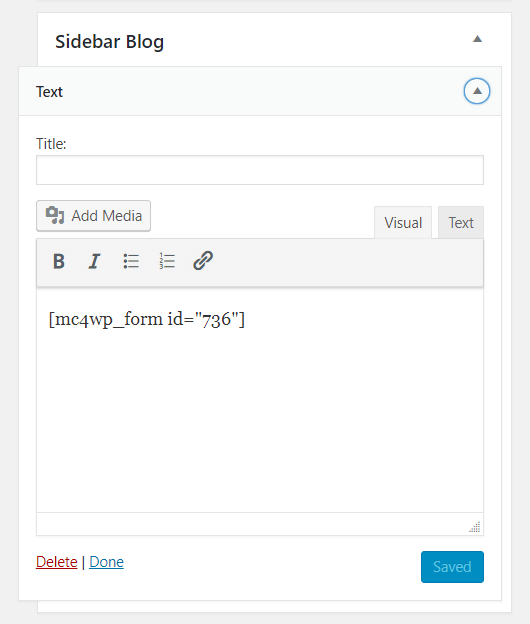
Add Mailchimp form in a widget
Click Save button and check the widget from your site to verify if your Mailchimp form properly displayed.
Bonus: Add Custom Fields in Mailchimp
Normally, if you want to add field/s to your Mailchimp form, you'll just go to Fields tab of Mailchimp for WP plugin.
From there, you select field/s you want to add to your form. One thing that may concern you, you may notice that you are limited to choose/select from the list of form fields displayed. What if you want to add custom field/s to your Mailchimp form?
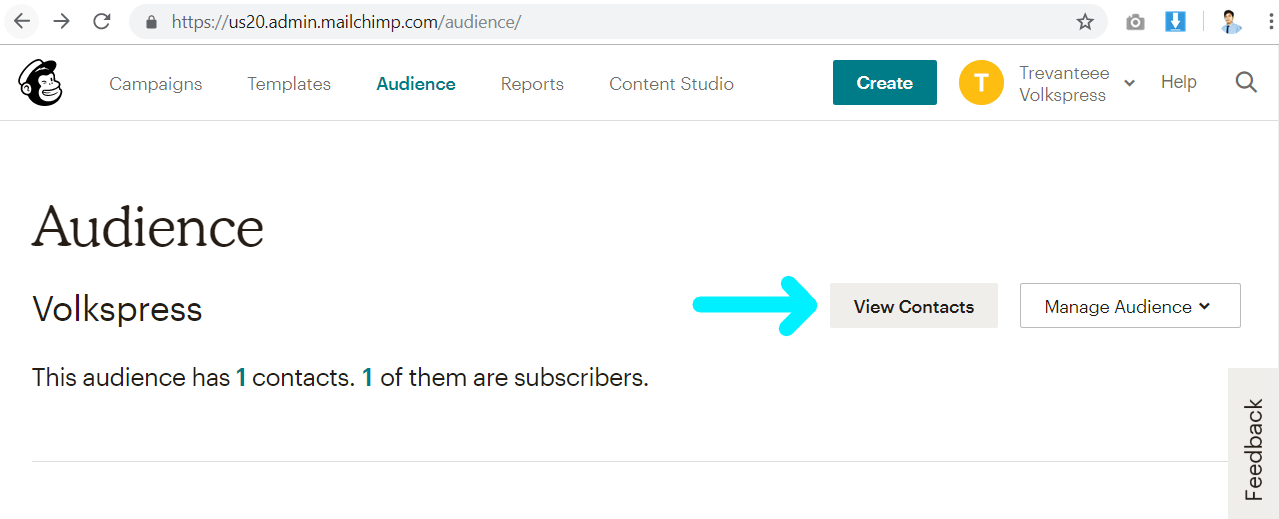
If you want to add custom field/s to your Mailchimp form, you need to manage your audience fields first (you do this from your Mailchimp account). What exactly you need to do? First, sign in to your mailchimp account here. Next, from the header menu navigate to audience tab.
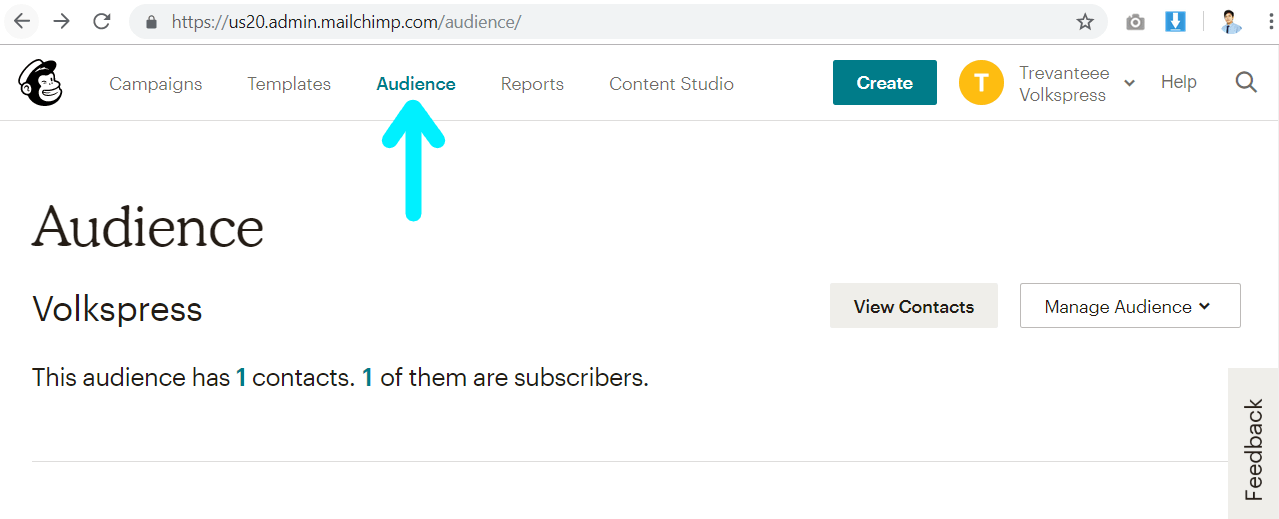
Hit View Contacts button. A table data containing your contacts and subscribers should be displayed.
Click Settings and go to Audience fields and *|MERGE|* tags.

Mailchimp audience fields and merge tags
Here you'll see all available fields of your Mailchimp list. You may configure fields here anytime.
Let's add a custom field and make it available to your Mailchimp form (in your WordPress site). Scroll down and click Add A Field button.

Select field type you want to add to your form
Select the field type you want (here we'll select text just for the demo). You should see a message "Merge Field added" upon selecting field type.
You must see the newly created field at the bottom of the field list. Change the label and tags of your newly created field. You may also checked required simply to make your field required to input. Set value to Default merge tag value if you need a default value for your newly created field.

New field added to your Mailchimp list and form
Once done, click Save Changes button. A success message will appear and the newly created field should be available now from Fields tab of your Mailchimp for WP plugin.
Go back to your WordPress dashboard and navigate to Fields tab of Mailchimp for WP plugin. Click Add more fields button. A modal pop up will show. Hit the button Renew Mailchimp List.
Voila! See the newly created field now?

Click the newly created field to include it to your Mailchimp form.
Hit Save Changes button.
Now, go to your website and perform a test subscription to see if the newly added field (on your Mailchimp form) is properly working.
Nicely done! Let’s wrap up everything.
You only need to perform few steps if you want to add a Mailchimp form to your WordPress site. First, create your Mailchimp account. Second, (from your WordPress dashboard) install and activate Mailchimp for WordPress plugin by ibericode. This plugin will help you integrate your Mailchimp account with your WordPress site in seconds. Note that integration between Mailchimp and WordPress requires an API key (you need to generate one if don’t have one yet). Next, create your very first Mailchimp form (Mailchimp for WordPress plugin will generate a shortcode for you for each Mailchimp form you'll create). Lastly, add your Mailchimp form to your page, post or widget by inserting the shortcode generated by the plugin. Optionally, you may add custom fields to your Mailchimp form if you need to. Now it’s easy to add custom fields to your Mailchimp using Mailchimp’s Audience fields and merge tags feature.
At the end of this article, you should now have your Mailchimp form added to your WordPress site. Now you can start to build your email list. Happy email marketing!
Leave a Reply
You have any questions or suggestions? Experiencing technical issues?
Please drop a comment, we're willing to resolve any issues and improve our solutions. Let's have a personal and meaningful conversation. 😀